Beekeeping > Queens > Introducing a Mated Queen
Introducing a Mated Queen
The methods listed here are for introducing a mated queen into splits rather than re-queening an existing hive.
These are the two methods that work for me, this doesn't mean they're 100% foolproof or that other methods may not also work.
How Queens Arrive
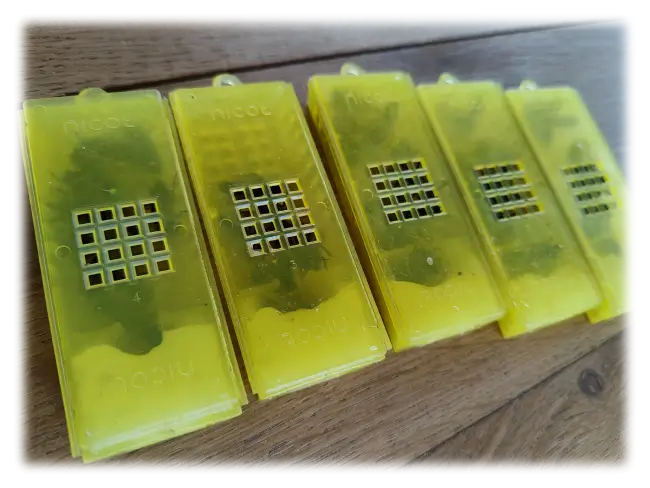
The photo shows the cage that will arrive in the post, the cage contains a mated queen with a few attendant bees
along with some fondant.

5 mated queens in cages with attendants and fondant.
Method 1 - Hopelessly queenless split
This method requires knowing when your mated queens are going to be ready as there is some preparation to do in advance
of them arriving.
The hive I'll split will have plenty of bees/brood and will be from a queen right colony.
Step 1 (Day 0) - Making the split
Locate the queen in the hive you're making the split from, the last thing you want to do is accidentally move the queen into to new split as she'll either kill or be killed by the new queen.
I normally take one frame of stores, two frames of mostly capped brood including the bees on the frames then the remaining one or two frames of either drawn comb or foundation. Additionally I'll shake in a couple frames of bees from frames containing open brood. You can move the split to a new site 3 miles or greater away if you like, for this I favour keeping it in the same apiary so that the flying bees will return to the original hive. This means you'll have younger bees in the split which are more likely to accept the new queen.
Step 2 (Day 7) - Knock down queen cells
Go though the frames in the nuc, if you had any eggs or young larva the bees will have started to produce queen cells. You need to make sure ALL of these are removed so the nuc has no way to make their own queen. If you miss a queen cell then the bees may prefer to raise their own queen rather than accept your mated queen.
Top Tip - The bees can be good at hiding queen cells on the frames, if you shake the bees off the frame into the box you'll have a much better view of the frame.
Add queen in the queen cage, place the cage between the two brood frames that were added. So the cage doesn't fall to the bottom put a cocktail stick through the loop of the cage letting it hang down between the frames. Do not remove the tab on the cage at this point.
Step 3 (Day 9) - Remove the tab
Again check for any queen cells, if there are remove them. Now is time to remove the plastic tab on the cage (or sometimes cork depending on supplier). The only thing between the mated queen and the bees in your split will be the candy/fondant. The bees will eat their way though this over the next day(s) to release the queen.
It's a good idea to add a feeder with some sugar syrup or invert at this point.
Important - Even though the queen will be released into nuc it's important not to disturb them for the next week. Doing so may cause the bees to ball the queen and kill her.
Step 4 (day 16) - Check the nuc
Carefully check the nuc and remove the empty queen cage. It should be fairly easy to see the mated queen in the nuc although it's not essential, if you see fresh eggs or young larva then the introduction has been successful and you can let them get on with it.
Method 2 - Split and immediately add a mated queen
With this method it's important to put the queen cage in as soon as you make the split, this reduces the likelihood of the bees recognising they are queenless and trying to raise their own queen. Again use a hive that's got plenty of bees and brood.
Step 1 (Day 0) - Making the split
Put two frames of mostly capped brood into the nuc with one frame of stores and the remaining 1 or 2 frames of drawn comb or foundation. Ideally avoid frames with eggs/young larva if possible. Shake a couple frames of bees into the nuc from frames with open brood. Ensure the original queen remains in the hive after you've taken the frames for the split.
Put the queen introduction cage in between the two brood frames using a cocktail stick to stop the cage falling to the floor.
Step 2 (Day 1) - Remove the tab
One day later return and remove the plastic tab on the queen cage, take a quick look at the brood frames and remove any queen cells if the bees have started drawing any.
It's a good idea to add a feeder with some sugar syrup or invert at this point.
Step 3 (day 8) - Check the nuc
Leave for one week before checking for a successful introduction. The queen should have been released after a day or two, if you disturb them too early you risk the bees balling the queen and killing her.
Additional Video Demonstration
Video Method 1 - Introducing a mated queen to a hopelessly queenless nuc.
Video Method 2 - Introducing a mated queen to a split straight away.
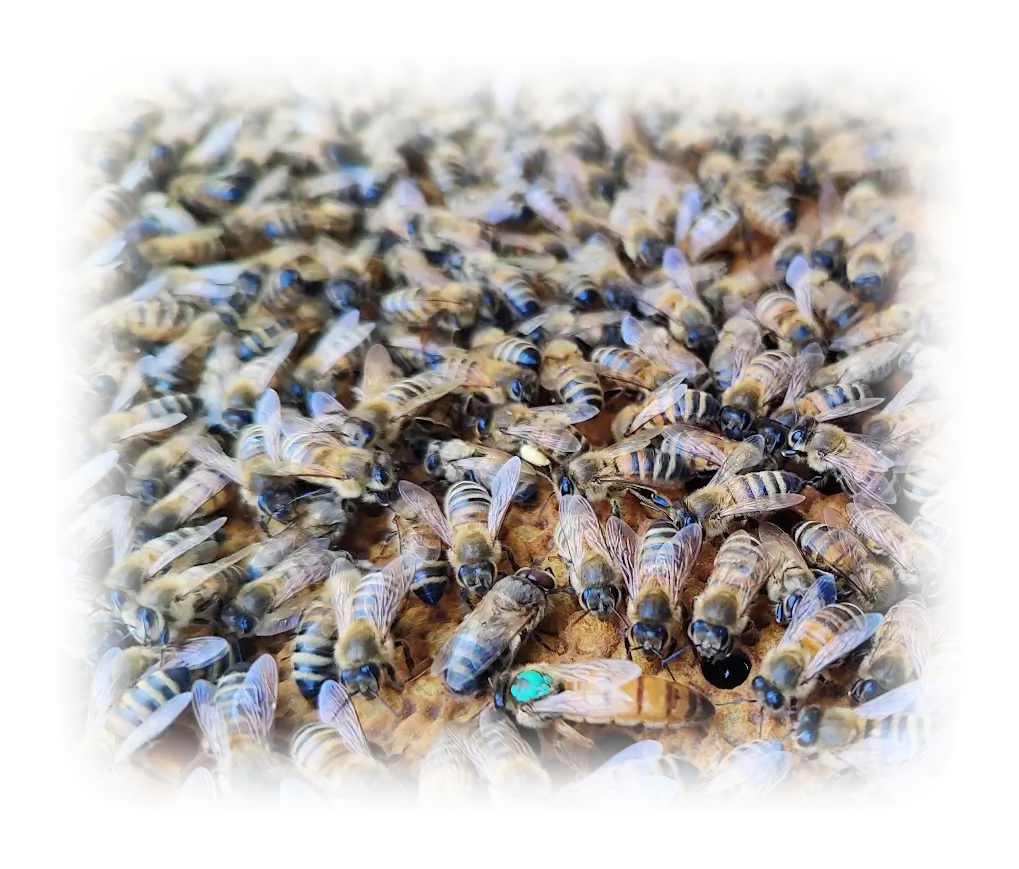
 A successful queen introduction.
