Beekeeping > Making Beeswax Candles
How to make Beeswax Candles
I'm no expert at candle making but have successfully made beeswax candles using the wax cappings left over after extracting the honey from our hives. So this is more of a how I do it guide rather than a how to guide for making beeswax candles.
Benefits of Beeswax candles
Beeswax candles have a reputation for improving indoor air quality by releasing negative ions when burned, this makes them a healthier choice for indoor environments. Here’s how it works and the potential benefits:
Reduction of Allergens and Dust
- Natural Ionization: When beeswax candles burn, they emit negative ions. These ions attach to positively charged particles in the air, such as dust, allergens (like pollen), mold, bacteria, and even toxins.
- Neutralizing Airborne Pollutants: Positive ions in the air often hold onto these pollutants, keeping them suspended. By neutralizing them, negative ions help these particles to drop out of the air, either settling onto surfaces or being drawn toward the candle flame itself.
- Trap Airborne Allergens: Since beeswax candles help to neutralize and settle particles like dust, pet dander, and pollen, they may reduce the number of allergens circulating in your home. This can be particularly beneficial for people with allergies, asthma, or respiratory issues.
- Cleaner Burning: Unlike paraffin candles, which are derived from petroleum and can release harmful chemicals like benzene and toluene into the air, beeswax burns cleanly. This helps improve the overall air quality by avoiding toxic byproducts.
Odor Elimination
- Neutralizing Unpleasant Smells: Negative ions can also neutralize odors, as they help to settle odor-causing molecules out of the air. This can be useful for purifying air in rooms with lingering smells like smoke or food.
No Chemical Emissions
- Pure Beeswax: Pure beeswax candles are free from synthetic fragrances, dyes, and chemicals found in other candles, further contributing to healthier indoor air. They are hypoallergenic and ideal for people with sensitivities to synthetic scents or pollutants.
- Minimal Soot: Beeswax candles produce very little soot compared to paraffin candles, which reduces indoor pollution and avoids leaving a film of black soot on walls, furniture, and indoor surfaces.
What You Need
Obviously you need beeswax, some of the other items will depend on the type of candles you want to make and the method you use. I've listed the items I used below.
Silicone Moulds
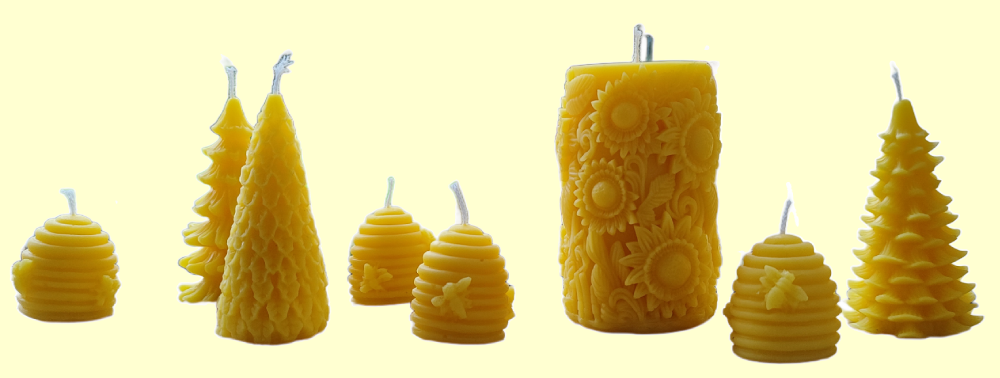
I have a variety of silicone moulds, including miniature beehive skeps, Christmass trees and decorative flower pillar candle moulds. Having multiple moulds helps as you can pour several at a time without having to wait hours for them to harden before going again.
Below: A few of the silicon moulds.Slow Cooker
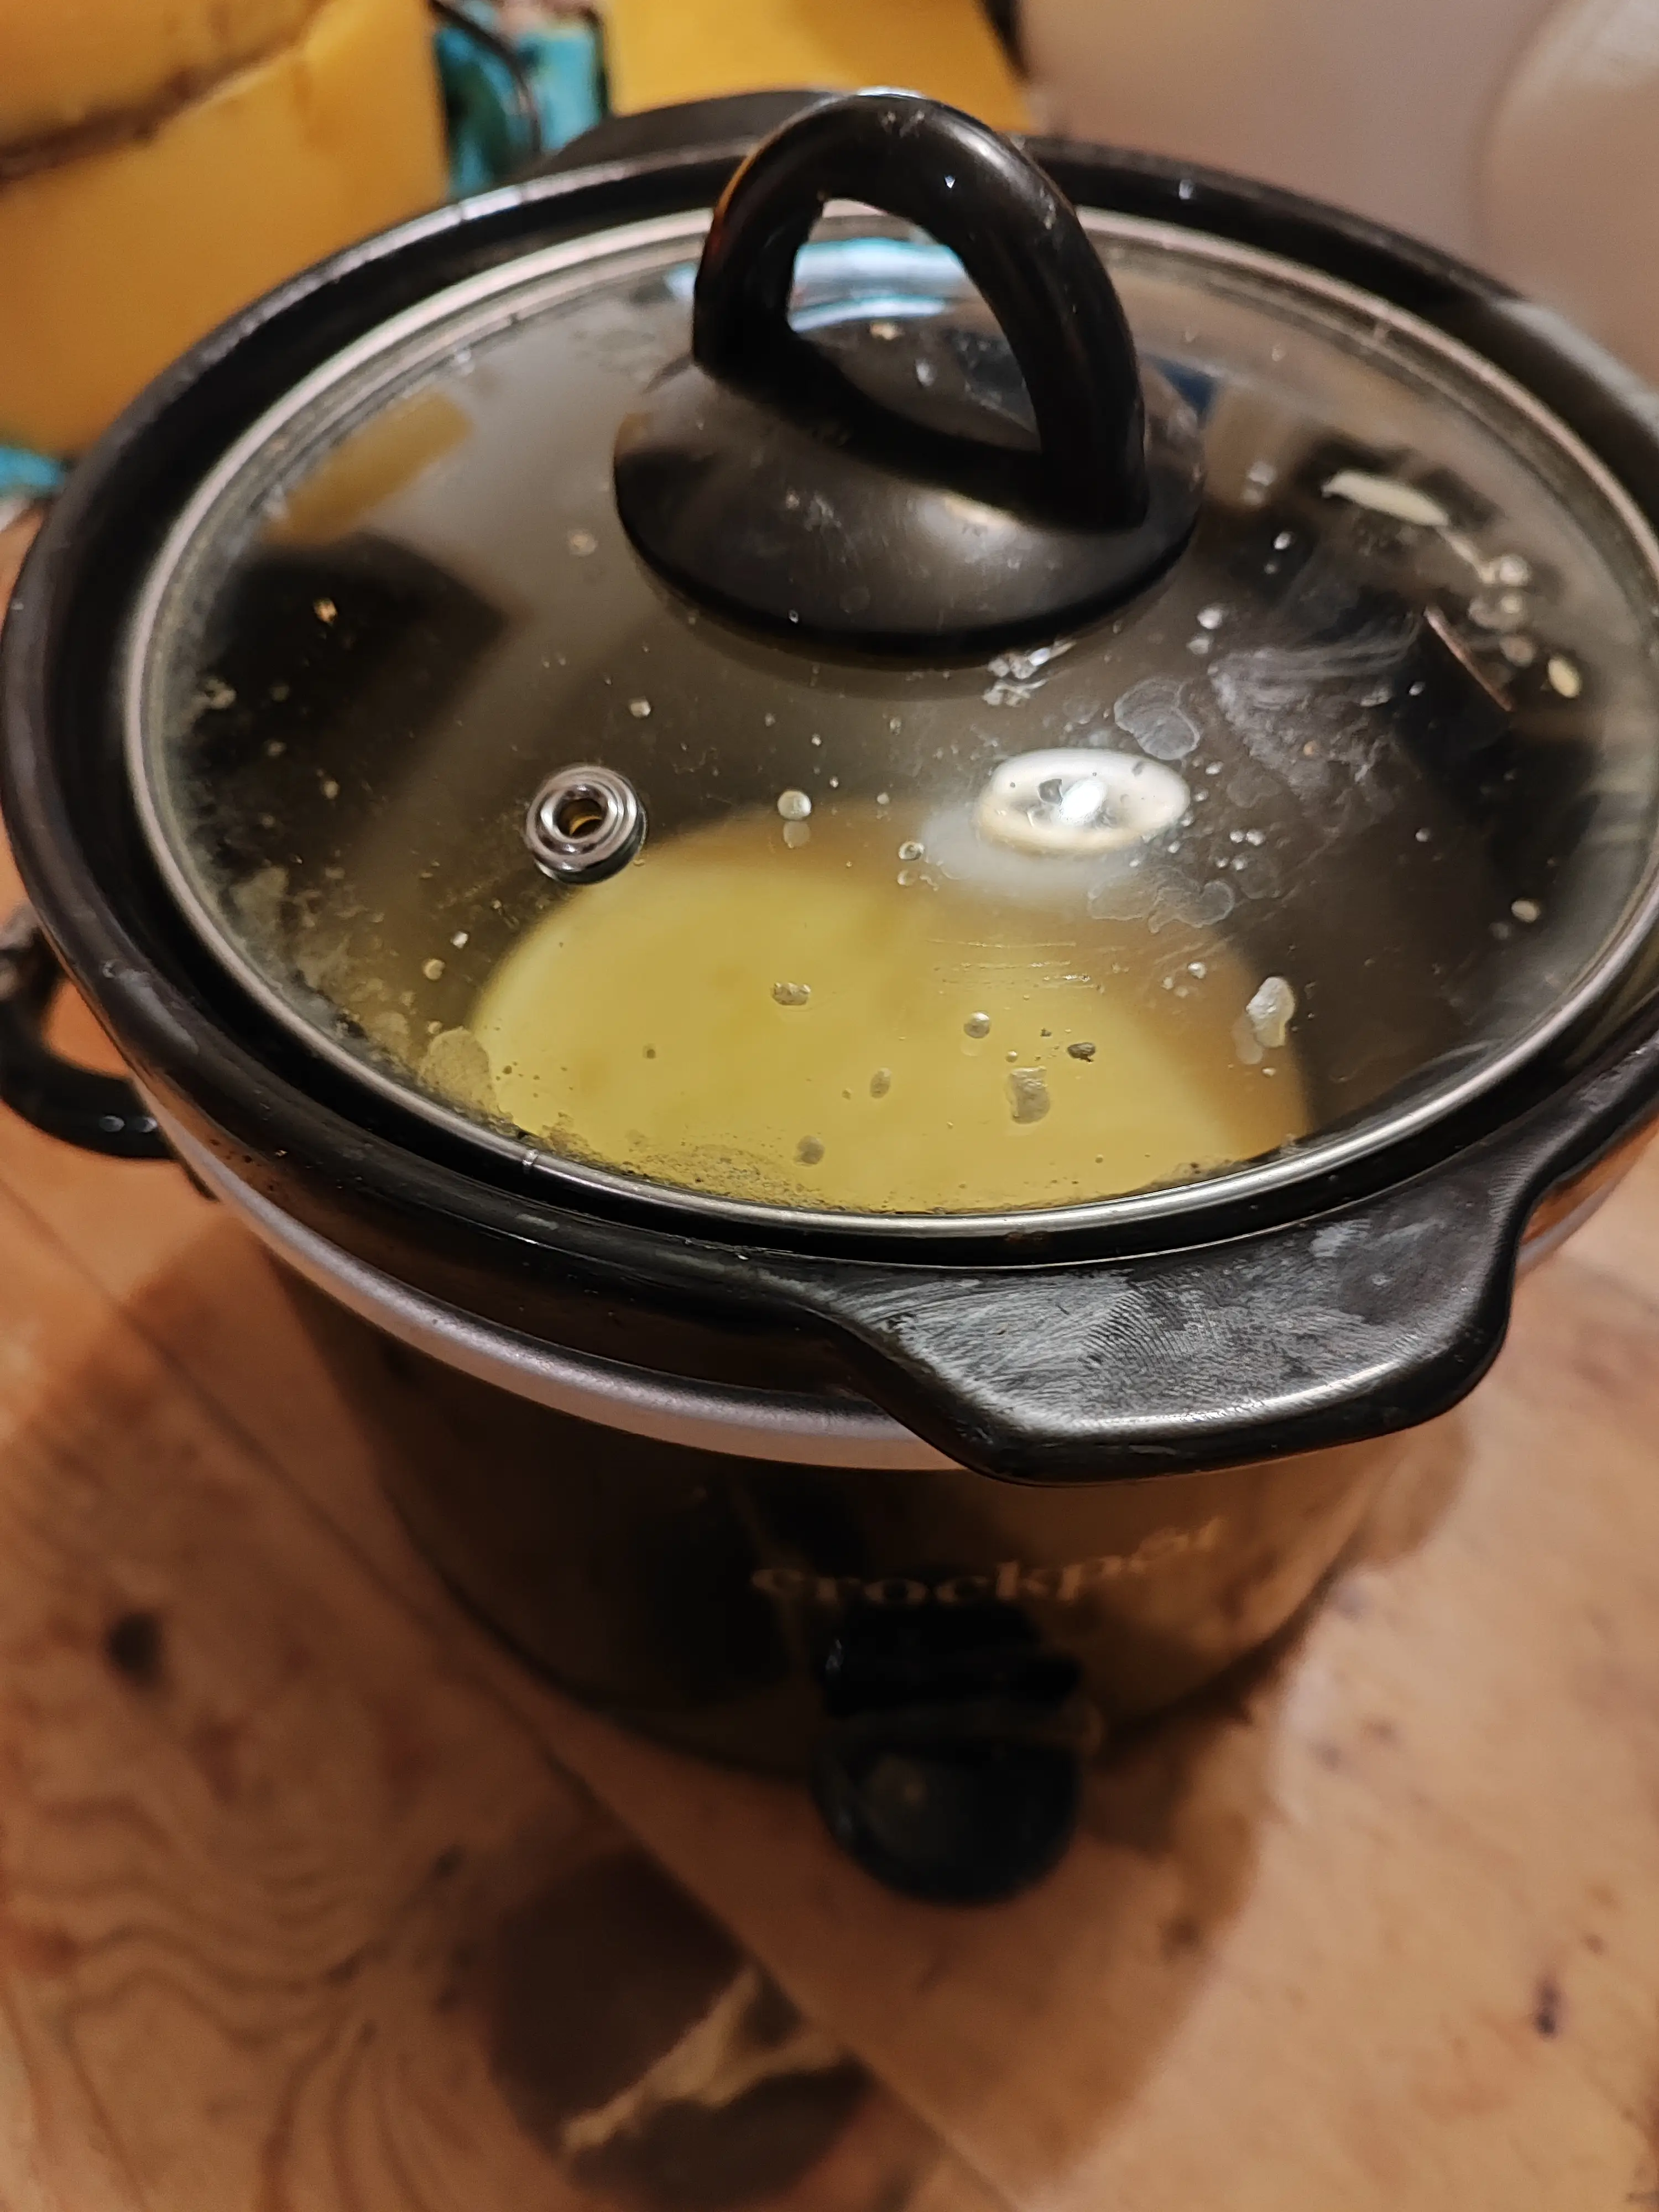
You'll need something to melt the wax to the right temperature before pouring, for making a small volume of candles at home a cheap slow cooker does the job well.
I used a 1.8L slow cooker from Amazon that cost £14.99
Other Items
- A Jug - You'll need a jug for pouring, ideally a aluminum one but I have a food safe plastic one I had spare.
- Wick - Wick type/sizes discussed further down.
- Thermometer - Getting the pouring temperature correct is key to making good candles.
- A needle - For passing the wick through the mould.
What temperature to heat beeswax
This is one of the most important things to get right. If you pour the wax into the mould while it's too hot you'll end up with shrinkage as the wax cools, you also risk damaging the mould. If it's too cool you may end up with cracks in your candles. The sweet spot is around 160°F to 170°GF (71°C to 77°C), it's important get this part right. I used a thermometer with a probe that worked really well, when melting the wax in the slow cooker it got up to around 190°F (87°C). After it had completely melted I turned the slow cooker off and waited until the temperature hit 170°F (77°C) then put into the jug and started pouring into the moulds. It's also important not the let the wax heat up to above 200°F (93°C) or you risk scorching the wax impacting the quality of your candles.
What wick size for beeswax
I used square braid cotton wicks (these provide a steady burn), the thickness you will depend diameter of the candle to ensure proper burning. Here’s a general guide I found that I based my choice on.
Wick Size Guide (in mm) for Beeswax Candles:
- For small candles (up to 25 mm in diameter)
Use a 2.5 mm or 3 mm square braid cotton wick (also known as #2/#3). - For medium candles (25 to 50 mm in diameter)
Use a 4 mm to 5 mm square braid cotton wick (also known as #4/#5. - For larger candles (50 to 75 mm in diameter)
Use a 5 mm to 6 mm square braid cotton wick (also known as #6/#7). - For very large candles (75 to 100 mm in diameter)
Use a 6 mm to 8 mm square braid cotton wick also known as #8/#9).
Beeswax burns hotter and slower than paraffin wax, so a slightly larger wick may be needed compared to other types of candles. After my run of candles I did a test burn to check the wicks I picked worked for each type of candle.
Do beeswax candles need to cure?
I vaguely knew that candles needed to be cured for a few days before burning but this isn't the case with beeswax candles. Beeswax is naturally dense and stable, so once the candle has been poured and cooled to room temperature, it’s generally ready to burn. if it's a large candle make sure it's had time to fully harden before burning.
Setting up the molds ready for pouring
You want a clear work surface and have everything setup before you start pouring the wax. The video at the bottom of the page from Bob Binny shows how to hang the wick through the molds so they are tensioned, straight and go through the middle of the mould.
I ended up using table chairs and hung the wicks from the stretchers (cross section between the legs) of the chair going down to the moulds which were rested on the floor.
I had a some greaseproof paper underneath in case I ended up spilling any wax.
Pouring
With the silicon moulds I used I didn't apply a release agent and haven't had an issue taking the candles out of the moulds. Depending on your mould you might need a release agent (often a spray) to make it easier taking the candle out from the mould.
Leveling
Once the candles have cooled and hardened you may find that some don't stand straight after trimming off the excess wick. This can be fixed either using some greece proof paper over a hot plate and pressing down with the candle until it's level or using the flat surface in the slow cooker and pressing down with the candle until bottom is level. Then just wait a few moments for the bottom to cool.
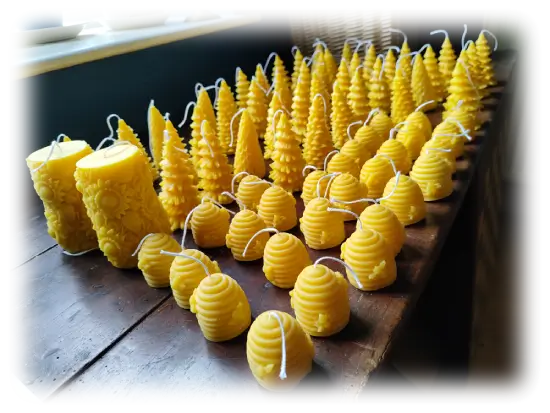
Below: Some finished candles I made before test burning them.
Further reading / Videos
One of the most helpful videos I watched was by Bob Binny with an expert beeswax candle maker
Making Beeswax Candles.
You can buy our Christmas beeswax candles or the skep beeswax candles in our shop.

